Makerhood for Schools · Sadulpur
Bring students to a real workbench.
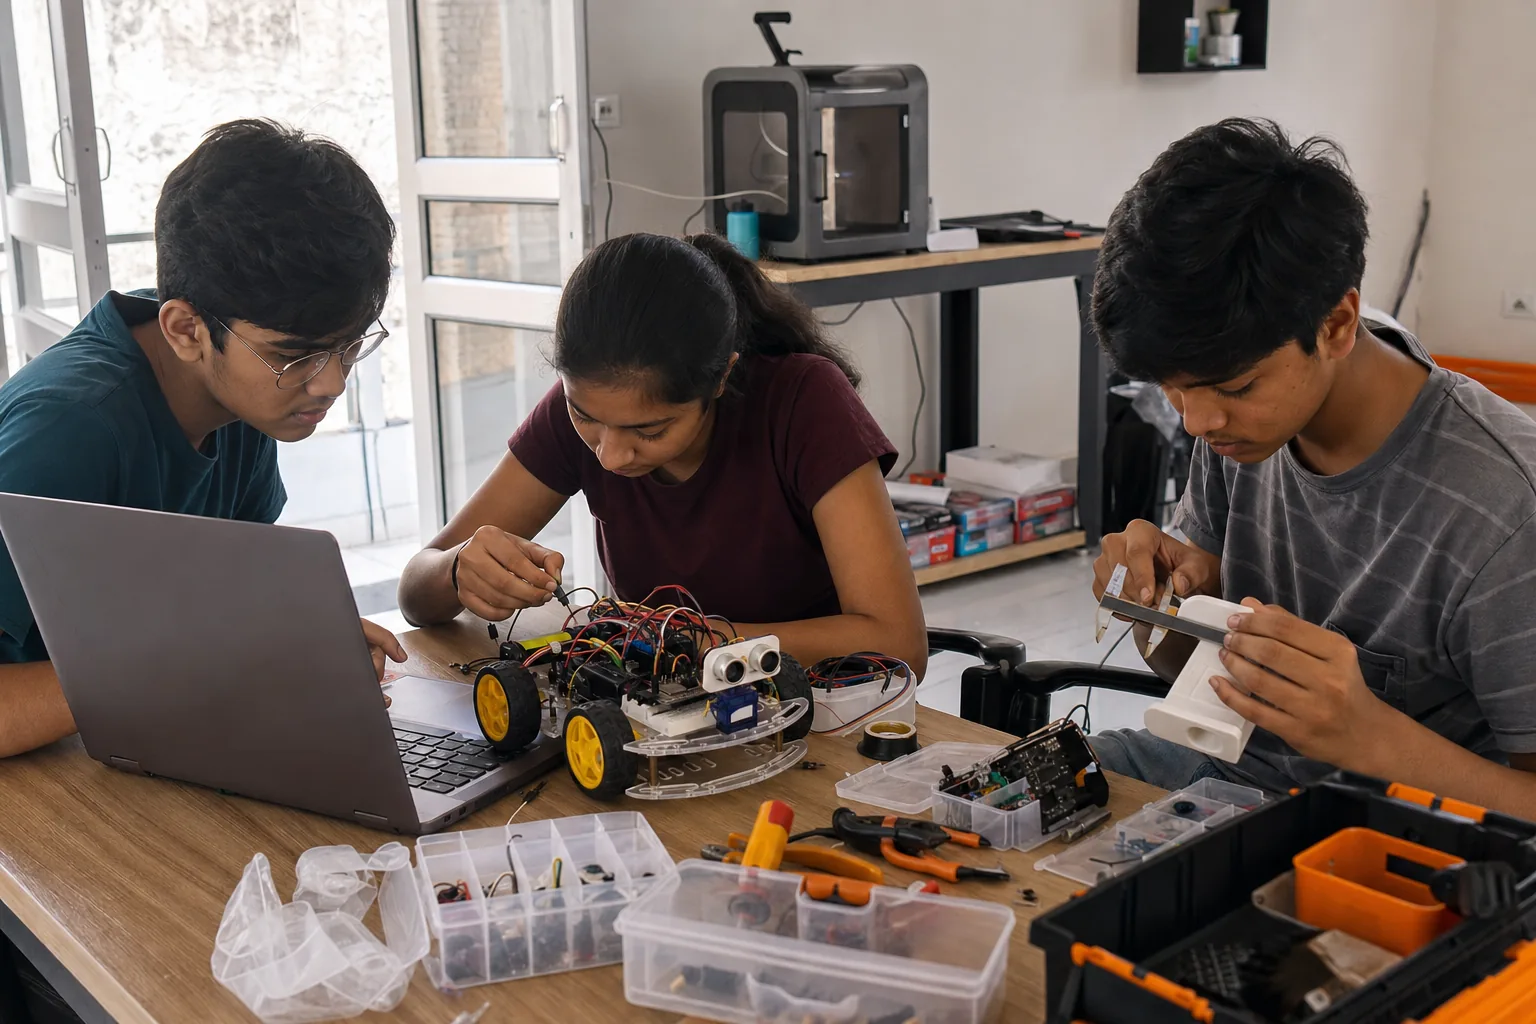
Begin with a studio visit or one focused pilot around real printers, circuits and working projects. Then decide whether a longer class-wise route makes sense for your school.
पहले studio देखिए या एक छोटा pilot कीजिए। उसके बाद ही आगे का programme तय करें।
Possible directions
The challenge should fit the students in front of us.
These are starting directions, not a pre-packed promise. The right tools, pace and project are chosen after we understand the class and the school.
Classes 1–5
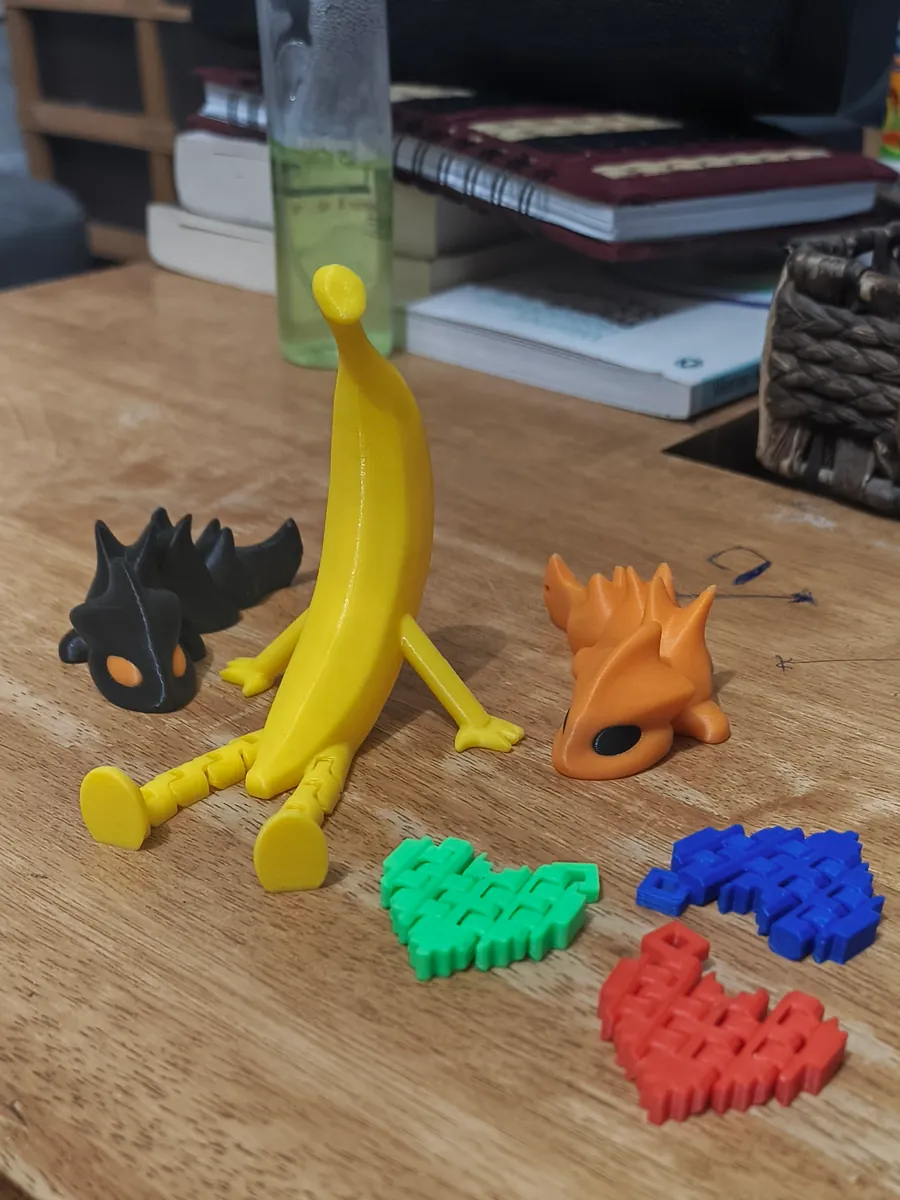
Explore & make
Possible starting points include structures, moving mechanisms, patterns and first circuits through guided physical builds.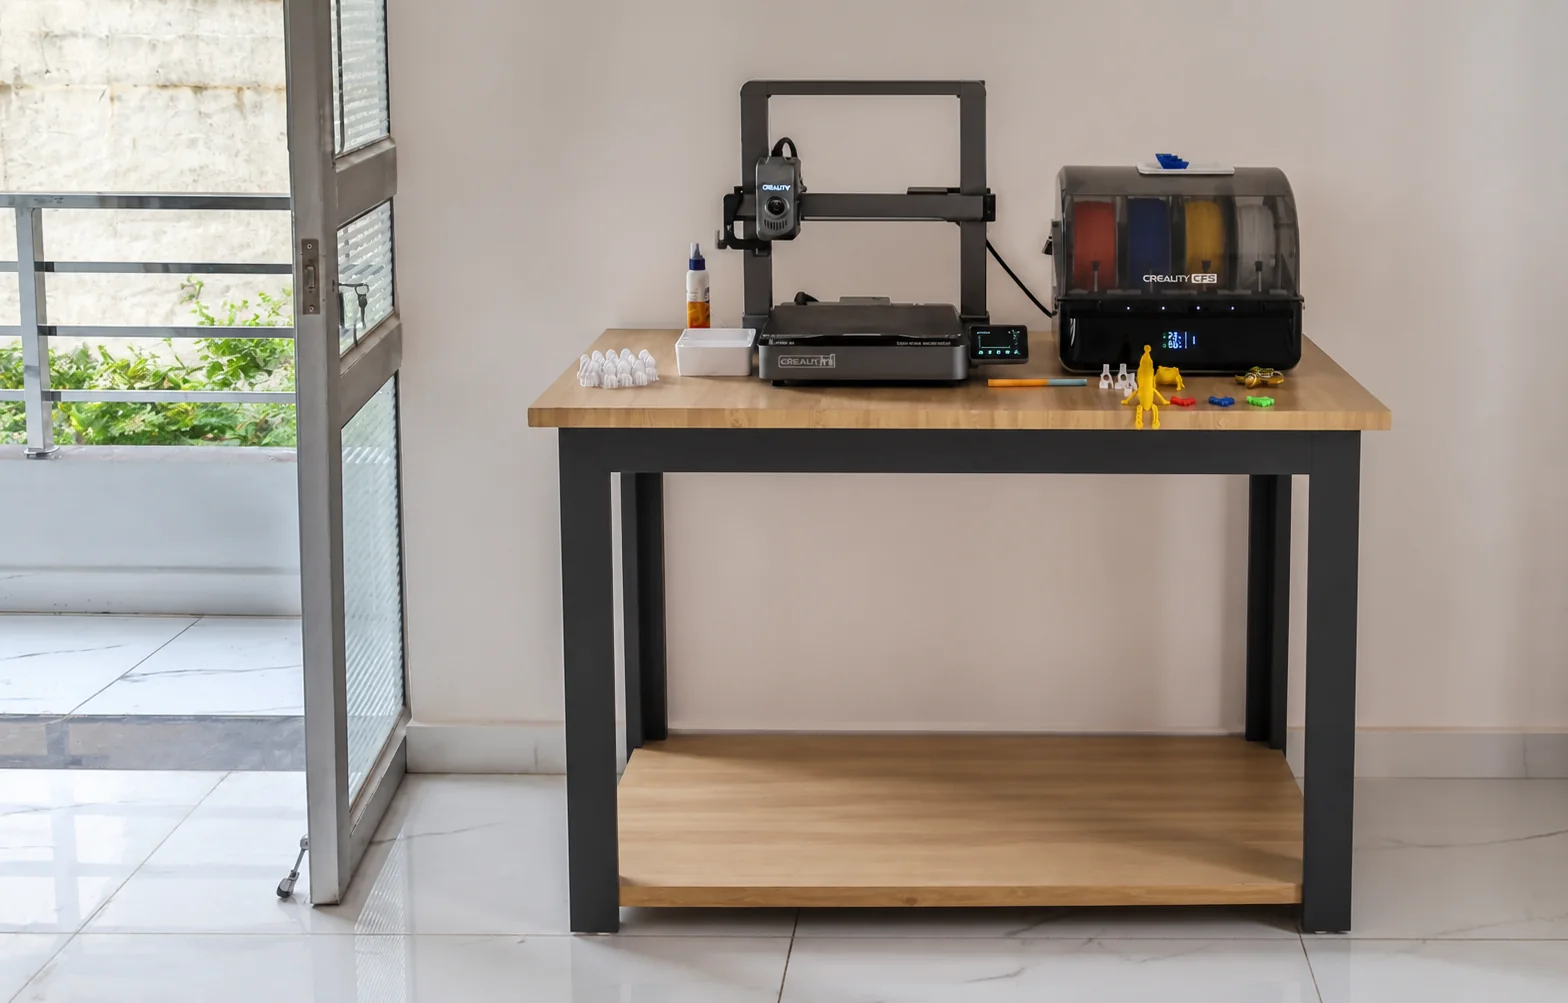
Classes 6–8
Code & experiment
Students can begin combining sensors, microcontrollers, robotics, creative coding and 3D design in one practical challenge.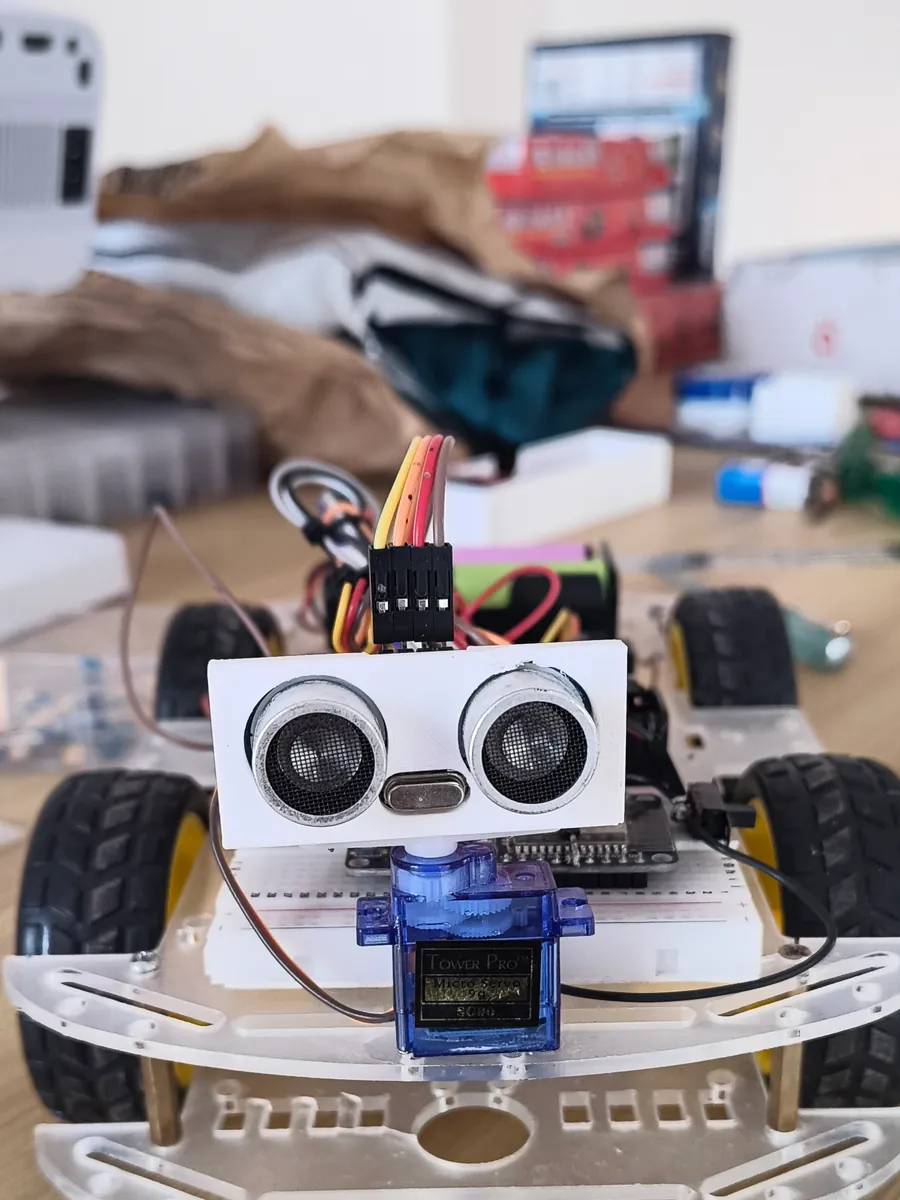
Classes 9–12
Engineer & present
Older students can take on a fuller brief involving software, electronics, fabrication, testing and a clear explanation of their decisions.
Before a school commits
The operating facts come before the proposal.
A good idea is not enough. The class, timetable, room, tools and adult responsibilities must work together.
Class fit
Classes 1–12
The tools, pace and challenge change by age, readiness and available supervision.
Safest first step
Visit or one pilot
Test engagement and logistics before discussing a club or longer programme.
School shares
Class, batch and timetable
Also tell us the available space, equipment and the outcome you care about.
Makerhood confirms
Plan, fee and requirements
The proposal should name materials, staffing, travel and responsibilities before approval.
Ways to begin
Start small enough to learn something useful.
The timetable, batch size, class range and equipment available determine what Makerhood should propose next.
How a pilot moves
Plan one useful test before a long programme.
The first engagement should answer whether the activity, level and operating format work for the school.
- 01
Understand the school context
Confirm class levels, approximate batch size, timetable, available space and what the school wants students to experience or demonstrate.
- 02
Choose one observable challenge
Select an age-appropriate build with a clear activity, realistic tool requirements and something teachers can observe at the end.
- 03
Agree the operating plan
Write down session length, groups, supervision, safety boundaries, materials, travel, fee and what each side must arrange.
- 04
Run and review the pilot
Record participation, completed work, difficulties and teacher feedback before recommending a repeat, longer route or no further programme.
What the school should receive
A programme leaves more than photographs.
Even a small pilot should produce enough documentation for a principal or coordinator to make the next decision responsibly.
- 01
A programme outline
The agreed learner group, challenge, outcomes, session plan and the tools or materials required.
- 02
An operating checklist
Room setup, group size, supervision, safety boundaries, school inputs and Makerhood responsibilities.
- 03
A review record
What students attempted, what was completed, where the format struggled and what should change next.
- 04
A clear next recommendation
Repeat, extend, redesign or stop—based on the pilot rather than a promise made before it.
Questions from schools
Make the practical constraints visible early.
Does the school need a robotics or maker lab?
Not necessarily for a first visit or pilot. The proposal should state which tools Makerhood brings or provides, what the school must arrange and whether the activity belongs at the studio or on the school campus.
How many students can join at once?
That depends on age, tool access, activity and adult supervision. Share the expected batch size first; Makerhood should confirm a workable group structure rather than promise one number for every format.
Are materials and travel included?
The written proposal should separate programme delivery, consumable materials, reusable equipment and any travel cost. Nothing should be assumed from a headline fee.
How are safety and supervision handled?
The operating plan should identify tool boundaries, required supervision, room setup and the responsibilities of Makerhood and school staff. Higher-risk tools should only be used in an age-appropriate, directly supervised format.
Can this become a longer school programme?
Yes, if the first pilot demonstrates a good fit. A club or multi-week route should then have defined outcomes, schedule, staffing, equipment and review points of its own.